Monday, August 30, 2010

Misunderstood Cupcakes


I have always loved sharks. Talk to ANYBODY that knows me, and they'll tell you. I can remember it all starting when I was about 8 years old and saw Jaws for the first time.

I'm the type of girl that watches Jaws and roots for the shark. I mean, yeah, it was killing people, but I practically shed a tear when Roy Scheider shoots that oxygen tank at the end.

Sappy-ness aside, I had a LOT of fun with these cupcakes. I might have even had TOO much fun, if it's even possible.

For the cake, I used a Devil's Food Chocolate Cupcake recipe that I honestly forgot which website I got it from.


And for the frosting, I used a boxed Wilton's buttercream icing recipe that I bought at Michael's. Normally, I am against using store bought frostings, but I was making these on a time crunch and couldn't find a recipe I liked.

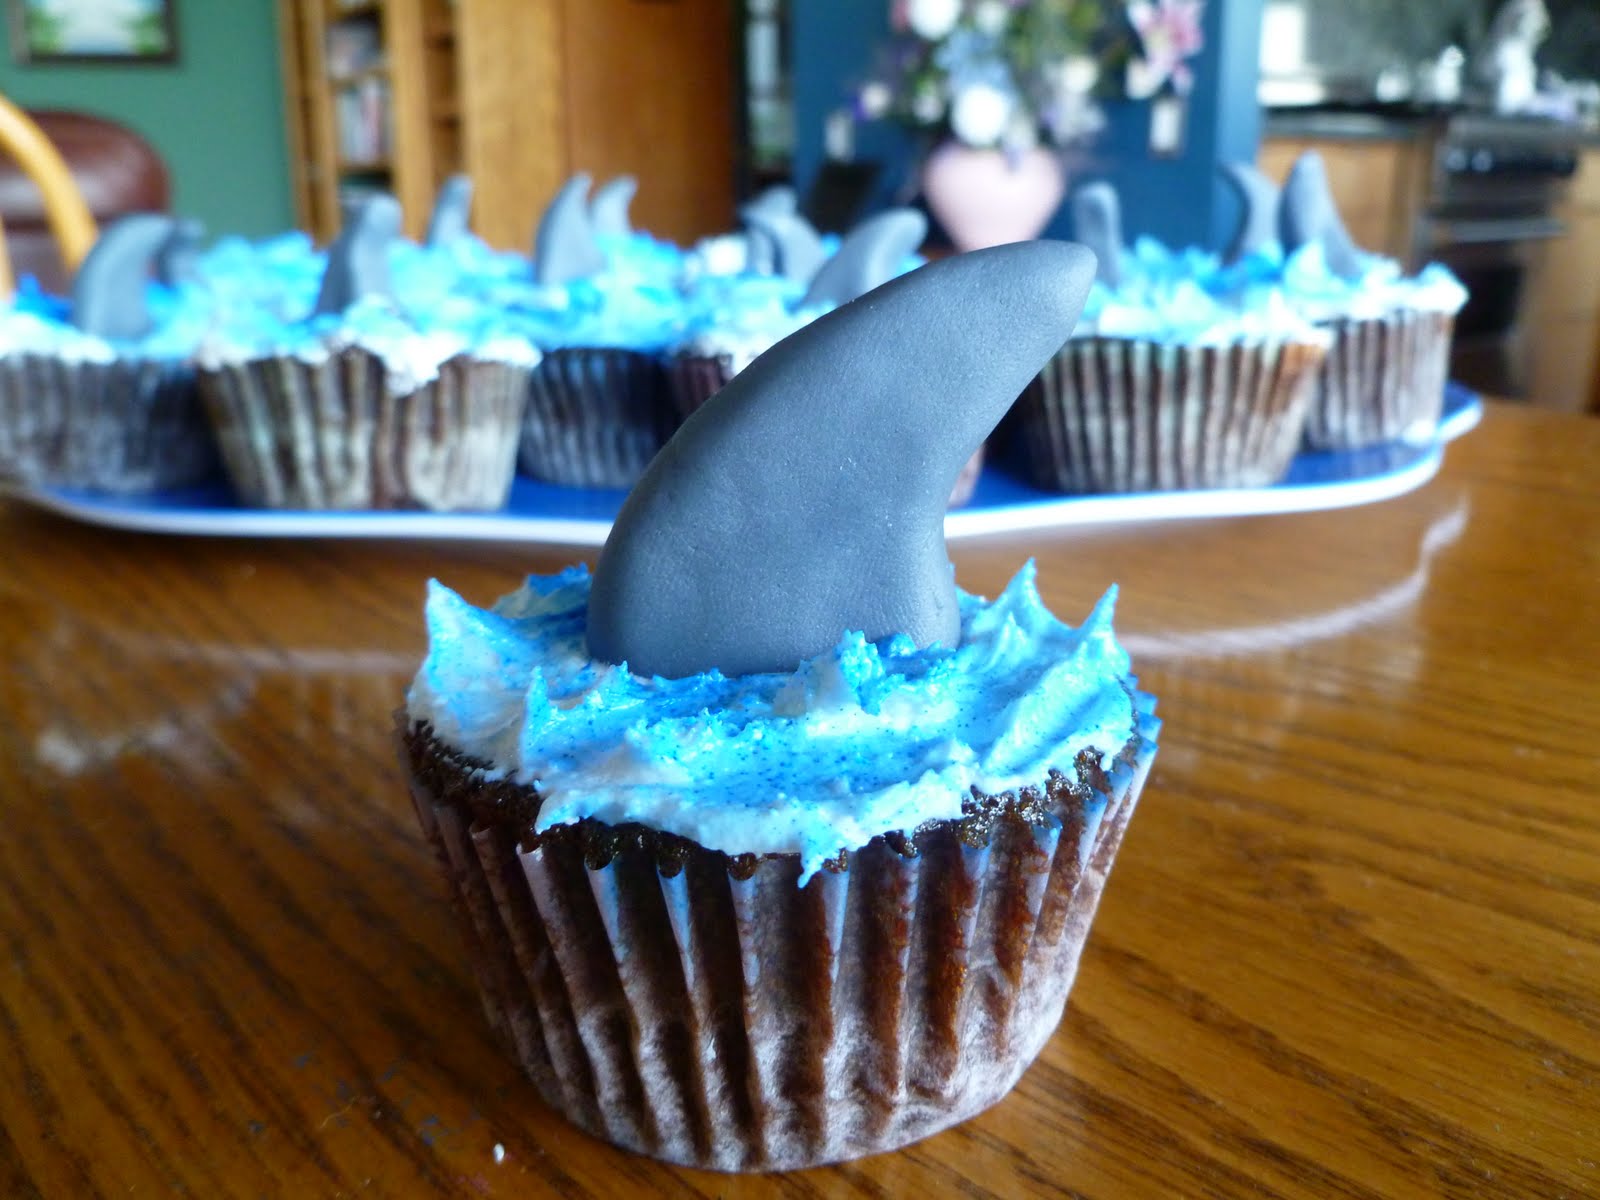
I picked up a bottle of Duff's cake graffiti to spray on the icing to make it look like water. The hardest part was working with the fondant. I used a store bought rolled fondant and some Wilton's black icing color. I kneaded in the color to get the gray throughout the fondant and then formed some shark fins.

This was just a blast.


I mean, look at how legit these look.

Oh, and for a special surprise, I put a dark chocolate Hershey kiss in 6 of the cupcakes after pulling them out of the oven.

Add in a few of my favorite people and brand new specials on Discovery Channel all about my favorite animal, and you've got an awesome night ahead.

Always remember, when you're in the ocean, you never know what may be lurking beneath you...

Sunday, August 22, 2010

The Cookies/Men Analogy


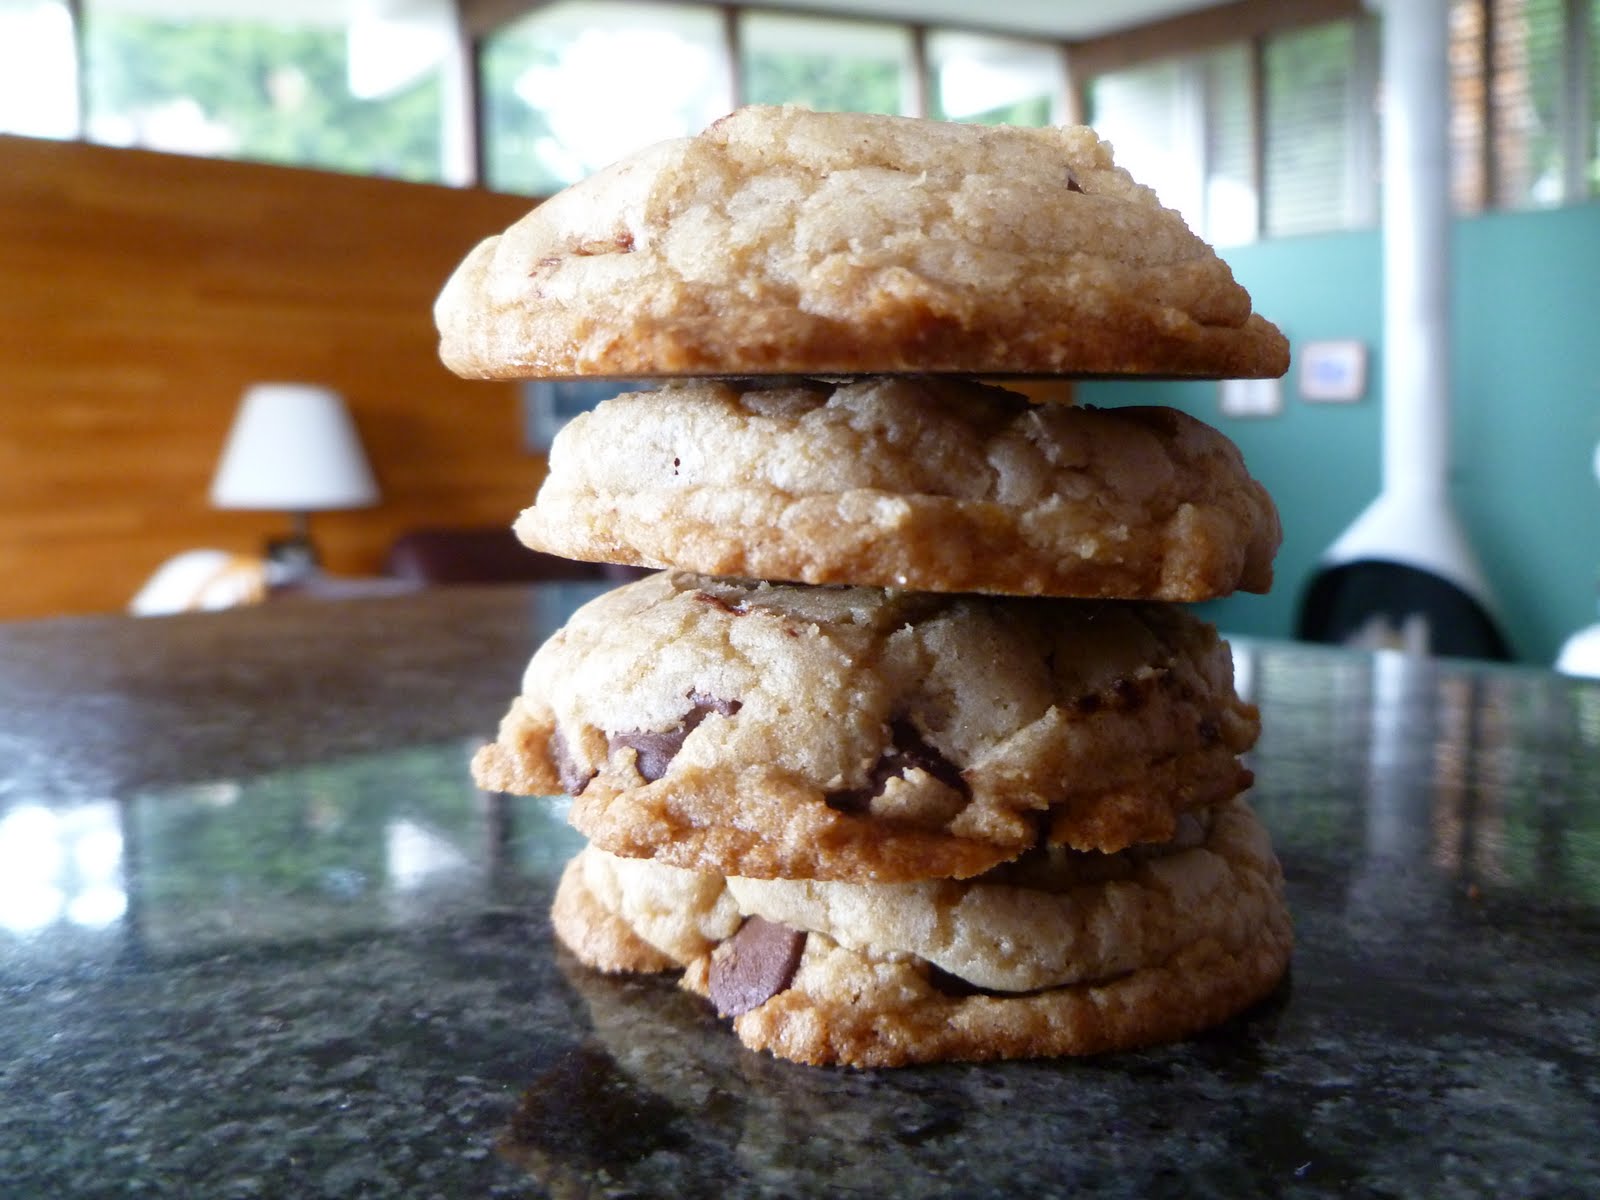
I like my cookies like I like my men: tall, tasty, and with some substance. My frustration is that my cookies always turn out flat and short. How am I supposed to attract a tall man with short cookies?

Well, I finally found my solution! I've been researching ways to fix my cookies and found that the secret to tall and chewy cookies is bread flour and melted butter. So I took this cookie recipe and made a change or two and the result was AMAZING.

I found the recipe on a blog, citing the recipe to another site, JustBaking.net. I was unable to find the original source, but no worries, the recipe is still intact and delicious!!


I can't think of anybody that doesn't love a good chocolate chip cookie. I also cannot tell you how many different cookie recipes I've thought were my favorite. Who knows...maybe I'll find one better than this one day, but it doesn't seem likely.

Every bite is like a perfect piece of cookie heaven. You can really use any type of chocolate chip, chunk, or whatever you like in your cookies. I used 1 cup of semi-sweet chocolate chips and 1 cup of semi-sweet chocolate chunks. I was VERY happy with my decision.


Lookie! Tall, gorgeous, perfect cookies! It makes my mouth water just looking at them! Now all's I need is a tall man, a glass of cold milk, and my favorite movie.

Happy Baking!!

Recipe:

  • 2 cups bread flour
  • 1/2 teaspoon baking soda
  • 1/2 teaspoon salt
  • 3/4 cup unsalted butter, melted
  • 1 cup packed brown sugar
  • 1/2 cup white sugar
  • 1 tablespoon vanilla extract
  • 1 egg
  • 1 egg yolk
  • 2 cups semisweet chocolate chips/chunks

Preheat the oven to 325 degrees F. Grease cookie sheets, or line them with parchment paper or use a Silpat.

Sift the flour, salt and baking soda and set aside.

Mix the sugars and butter just until thoroughly mixed, then add egg, yolk and vanilla and mix until creamy. Add the sifted ingredients and mix until just blended.

Stir in the chocolate chips/chunks, then drop dough one scoop at a time on a cookie sheet (I used a small ice cream scoop, but you can really use any size, you'll just have to adjust the baking time), about 3 inches apart, and bake for 15-17 minutes, or until the edges turn a nice golden brown. Leave them on the cookie sheet to cool a bit when removed from the oven. Once they cool a few minutes, remove the cookies to a cooling rack to finish cooling.

Tuesday, July 20, 2010

Tastes Like Freedom


I knew I had to try this the minute I saw the post of it on 17 and baking. Elissa made it sound so easy. I was more than excited to create this beautiful piece of food-art, but it did give me a small bit of anxiety.

The night before the 4th, I had a dream where I was trying to use my new cake leveler to cut the cakes in half and everything was falling apart. I was sure that this was a very real possibility of happening in real life.

Luckily, it was only a dream and the real thing turned out better than I could have hoped for. It looks difficult, but the steps are surprisingly easy.


The first thing is just to bake 3 round cakes. One blue, one white, and one red. I just used box cakes and food coloring. it's quick and easy. I would suggest using 8 inch pans. I used 9 inch pans and the cakes were shorter than I wanted.

Once the cakes have chilled in the fridge (I put them in overnight), level off the top of all three cakes. This is important for not only how the cakes fit together, but also for when spreading your frosting. Then using a serrated knife or a cake leveler (only about 3 or 4 bucks at Michael's), cut the white and red cakes in half so you have 5 round cakes.

Then take a bowl or other round object, I used a large mug, to cut a circle in a stack of one red level, one white level, and the blue cake. Then all you have to do is assemble! It's easy as pie...or cake. From bottom to top: whole white, frost, whole red, frost, outer circle of blue, frost (inside of blue), then the inner circles of white and red go inside the blue ring. Frost a crumb layer, chill, and top it off with a nice layer of frosting. It's that easy!


To see Elissa, from 17 and baking, assemble this cake, watch this video. It helps tremendously to see it first hand before you do it on your own!

The cream cheese frosting for this cake could not be any easier. This was my first time making homemade frosting and it turned out spectacular! I just used the recipe on 17 and baking, and it is magical!

16 oz cream cheese
10 Tbsp unsalted butter, softened
4 tsp vanilla extract
4 cups powdered sugar, sifted.

Beat the cream cheese, butter, and extract together until combined. Gradually beat in the powdered sugar until the desired consistency is reached.

My tip for this frosting (that I learned from my mother): You do not have to actually sift the powdered sugar. Just measure out your powdered sugar into a separate bowl, and whisk. Same result without having to go out and buy a sifter.

Saturday, July 17, 2010

The Cutest Cookie You'll Ever Make


This is where it all started. After reading the blog 17 and baking for several months, I got inspired by these tiny little cookies and knew I had to make them. I had never been so adamant about baking before in my life. A few weeks ago, I gave in and set off on a culinary excursion.

Tiny Peanut Butter Chocolate Chip Buttons. A long name for a small cookie.

I cannot say enough good things about these cookies. First of all, they are so small, that you don't feel like you're eating a bad and fattening dessert. They're extremely light and the peanut butter cookie is so airy with a slight crunch from the sugar. It is the PERFECT ratio of chocolate to cookie.


I don't think anybody can really understand just how tiny these cookies are until they actually bake them. Each tiny ball of dough has to be formed and then rolled in sugar. It's semi-time consuming, but definitely worth it. The recipe makes 180 cookies, which is a bit too much for me to handle at one time. I used probably half the dough and froze the rest, which I definitely used again later. At that point, all I had to do was roll, bake, and place a chocolate chip.

I was delighted to find out that they were just as good, if not better, the second time around. You just can't resist these cookies. I dare anybody to try.


Naturally, there were too many cookies for just my parents and I to eat. It feels weird to say the phrase "too many cookies." I can't imagine that ever being true, but I did have the best idea for what to do with all of these adorable cookies.

I'm working through a temp agency right now, and for anybody that's ever been a temp before, you kind of feel invisible. Nobody usually knows your name, because they know you're not there to stay. I've gotten called Alexa, Allison, Andrea, etc. My brilliant idea was to bring these cookies into the office and really make a name for myself, or at least, make them remember the right name.

The very first comment I heard from my boss was "They're so small." No real expression to go along with it, but since she is a woman of few words I assumed it was a good thing. For the people I worked with, they couldn't get enough. It was the perfect afternoon sugary pick-me-up when you're answering phones and emails all day.


But did it work to really make me stand out? Not really. Did it get them to at least remember my name? Not quite. Maybe I still get called "hey" or "A," but I did contribute something that one day. I put a smile on more than just one person's face. And that is an A+ in my book.

This is only the beginning of a new journey I am on to win friends through cooking and baking. I believe the way to anyone's heart is through their stomach and I am more than willing to try and impress everyone.

Do yourself a favor and make these cookies. Find the recipe here, and be sure to check out Elissa's awesome blog 17 and baking. Maybe you'll be inspired too.

Your new friend,
Alyssa