Sunday, October 17, 2010

Everything's Better Dipped in Chocolate!

The title of this post is 100% true.

Not just with food items either. Those of you who have seen the Angel episode "I Will Remember You" know exactly what I'm talking about. ;)

I seem to recall a line from Buffy the Vampire Slayer that goes a little something like this: "There is no problem that cannot be solved with chocolate."

I completely agree. Plus, if you use dark chocolate, it's healthy!

Well, that's not totally true, but it is healthier, which is a step in the right direction! They say that dark chocolate and blueberries can be the solution to depression. I'll take that as my first, and best, excuse for making treats like these!

This adventure begins with Rice Krispies treats! I had never made them on my own before, so it really was an experience.

If you can still call it "on my own" when I'm walking into the next room to ask my mom a question every 2 minutes.

Whatever, it still counts.

Lesson #1: When cutting the crispy, marshmallow-y goodness into shapes, you want to REALLY press it down into your pan first.


Lesson #2: Thick chocolate is harder to dip and takes longer to dry, but it makes cooler shapes.

My cookie cutter I used for these was a flower shape. I just had a bowl of melted chocolate to which I dipped each treat about halfway in, then pulled up slowly, letting the peak fall over to the side to create this awesome "shell" shape.


Lesson #3: These will be HARD when the chocolate has dried and slightly difficult to eat, but the chocolate to crispy mallow treat is pretty much perfect.....that is, only if you are a chocolate lover like me.


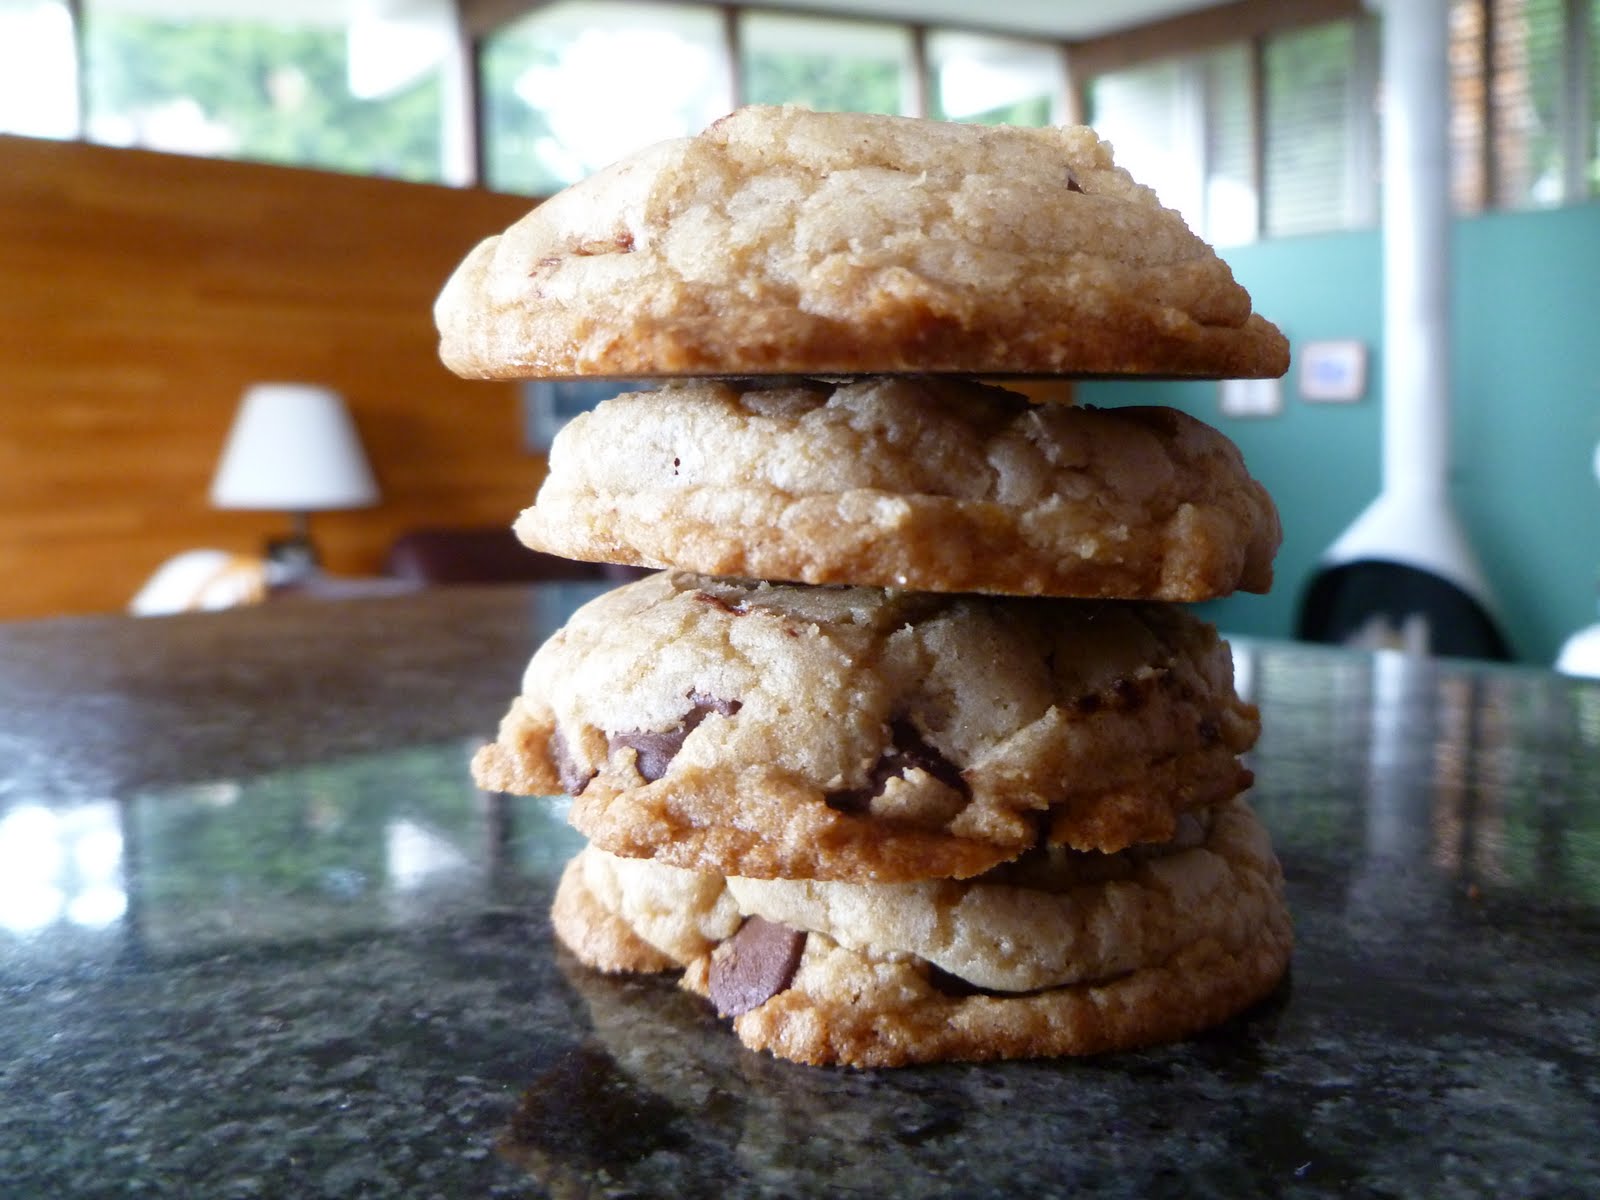
All in all, these were easy and fun to make while still being simple and delicious. Wonderful presentation also made them fun to show off and give out to people as a treat on a cookie plate (which I made with the Tiny Chocolate Chip Buttons).


My mouth is beginning to water just from looking at that chocolate.

I better get out of here before I start licking my computer screen like a psycho person.

Happy Baking!

Thursday, October 14, 2010

Moist Alert!


I know that I have some friends who absolutely abhor the word "moist" ... and you know who you are! So you're either going to have to suck it up, or just skip this post, because I'll probably say the word about 10 more times at least.

Moist moist moist moist moist. :) Happy?

For my dad's birthday this past August, he basically gave me the reins to make any dessert for him that I wanted. I picked a new cupcake recipe I had been wanting to try out - Moist Mint Chocolate Cupcakes!


Never before had I made a cupcake better that was A) so liquidy and B) so dark. Honestly, I thought that I had made a mistake and that the cupcakes would not turn out. The only real problem I had was that the tops were so sticky after I took the pan out of the oven, that one little touch would tear off the top of the cake.

DO NOT, under ANY circumstances, underestimate the level of MOISTNESS in these cupcakes.

They are rich. They are dark and decadent. They are MOIST. Please believe me on this.

I about had a heart attack with the frosting too. For the life of me, I could not get the right consistency using this Mint Buttercream Icing recipe from chocolatecupcakes.net. (Although it says you can use mint and chocolate, I opted out of both and just did a vanilla buttercream)

Spreading was impossible. I ended up, with the help of my mom, dipping the cupcakes in the purple frosting. Then I very carefully used a piping bag to decorate with the letters on top in gold.

GO DAWGS!


Because my dad graduated from the University of Washington, I thought he would appreciate these for his birthday. Every bite was like a little bit of Husky victory.

I do recommend these cupcakes, but for the love of all things delicious, have some MILK on hand.

Monday, October 4, 2010

Playing With My Food

Everyone grows up being told not to play with their food.

Well, that just takes all the fun out of life.

To me, playing with my food is more than building mashed potato mountains. It's experimenting. It is finding new ways to present the same old foods.

I decided to take this into my baking, and had nothing short of a good time.


First up, I decided to make Tye-Dye cupcakes. Which, although time-consuming, are not that difficult to make. Simply take a white or vanilla cake mix (you can use homemade, but I just used a box mix) and separate the batter into a few different bowls.

Pick your colors, and I suggest using more vibrant contrasting colors than I did. Mix a different color into each batter bowl, and get ready to get messy!

Fill the cupcake liners with whatever combination of batters you like. I did a spoonful at a time of each batter so that it would turn out evenly through the whole cupcake, but do whatever floats your boat.

Luckily, my adventures did not end there that night, as I present to you....my "accidental chocolate mousse."


Okay, so, it's not really a mousse, per se, but it is my delicious Chocolate Creamy Sauce, which came to me by accident.

I was originally trying to make a whipped chocolate frosting, but this ended up being my result. And the recipe is so easy, it'll kill you.

In a medium metal mixing bowl, pour about a cup of heavy whipping cream. Using an electric hand mixer, start whipping the cream. You may want to add a few tablespoons of sugar for sweetness. While still very much liquid, scoop several spoonfuls of store-bought chocolate frosting into your bowl and continue mixing.

From there on, simply keep mixing and tasting along the way. You may want to add more sugar, cream, or frosting until you reach the taste you prefer. It's that simple.


I simply dipped each cupcake in the bowl of Chocolate Creamy Sauce and then topped with some homemade whipped cream (1 cup cream, 1/4 cup sugar, 1 tsp vanilla).

But oh no, I wasn't stopped there. I just had to top it all off with some chocolate shavings.

See, my experimental cupcakes are very much like me: random, with many layers, sometimes hard to understand, but I am a total sweetie. :)

I know, I know. That was a little too cheesy, gag. But hey, I have my soft side.

Got room for dessert? ;)

Birthday Treats!

In the first week and a half of September, my nephew turned 1 and my niece turned 3. It was so much fun to celebrate with family, and I got to do some baking and decorating!

For Evan's 1st birthday, my sister-in-law baked a cake for his treat and cupcakes for the rest of the party guests. The theme for the evening was BASEBALL and I was ecstatic when she asked me to decorate the cakes.


Evan's cake was a funfetti cake slathered in cream cheese frosting. The decoration was very simple. I took my frosting spreader and with a cleaned end, lightly traced the curved lines. Then I took my red dyed frosting to create the stitching.

The hardest and most nerve-wracking part for me was the writing, because I had never done it before, but I think it turned out pretty nice, no?


The cupcakes were also funfetti with the funfetti frosting! My mom and I cut up some cherry twizzler strands to make the initial lines and then decided to add the stitching for fun, baseball cupcakes for all to eat!

Hailey's actual 3rd birthday was after my parents were leaving to go back home, so we had a small party with cupcakes and presents while they were in Idaho still. Since her real party was a princess theme, I made ladybug cupcakes for the special party.


These were SO much fun to make! I made red velvet cupcakes and then just colored the cream cheese frosting red and black. I actually had a nightmare that it wasn't going to turn out, but behold - it worked like magic!

Just a base of red frosting with a line down the middle, a half circle for the head and dots! Easy as pie...or, cake, I suppose.


My niece had fun watching me in action all that day, and she loved the cupcakes that night too! She kept talking about them afterwards, and that was the greatest success in my book.

My first real experiment with decorating, and I think it turned out great! The desserts were fantastic and everyone had a great time, including my niece and nephew. I absolutely love being an aunt. :)

Monday, August 30, 2010

Misunderstood Cupcakes


I have always loved sharks. Talk to ANYBODY that knows me, and they'll tell you. I can remember it all starting when I was about 8 years old and saw Jaws for the first time.

I'm the type of girl that watches Jaws and roots for the shark. I mean, yeah, it was killing people, but I practically shed a tear when Roy Scheider shoots that oxygen tank at the end.

Sappy-ness aside, I had a LOT of fun with these cupcakes. I might have even had TOO much fun, if it's even possible.

For the cake, I used a Devil's Food Chocolate Cupcake recipe that I honestly forgot which website I got it from.


And for the frosting, I used a boxed Wilton's buttercream icing recipe that I bought at Michael's. Normally, I am against using store bought frostings, but I was making these on a time crunch and couldn't find a recipe I liked.

I picked up a bottle of Duff's cake graffiti to spray on the icing to make it look like water. The hardest part was working with the fondant. I used a store bought rolled fondant and some Wilton's black icing color. I kneaded in the color to get the gray throughout the fondant and then formed some shark fins.

This was just a blast.


I mean, look at how legit these look.

Oh, and for a special surprise, I put a dark chocolate Hershey kiss in 6 of the cupcakes after pulling them out of the oven.

Add in a few of my favorite people and brand new specials on Discovery Channel all about my favorite animal, and you've got an awesome night ahead.

Always remember, when you're in the ocean, you never know what may be lurking beneath you...

Sunday, August 22, 2010

The Cookies/Men Analogy


I like my cookies like I like my men: tall, tasty, and with some substance. My frustration is that my cookies always turn out flat and short. How am I supposed to attract a tall man with short cookies?

Well, I finally found my solution! I've been researching ways to fix my cookies and found that the secret to tall and chewy cookies is bread flour and melted butter. So I took this cookie recipe and made a change or two and the result was AMAZING.

I found the recipe on a blog, citing the recipe to another site, JustBaking.net. I was unable to find the original source, but no worries, the recipe is still intact and delicious!!


I can't think of anybody that doesn't love a good chocolate chip cookie. I also cannot tell you how many different cookie recipes I've thought were my favorite. Who knows...maybe I'll find one better than this one day, but it doesn't seem likely.

Every bite is like a perfect piece of cookie heaven. You can really use any type of chocolate chip, chunk, or whatever you like in your cookies. I used 1 cup of semi-sweet chocolate chips and 1 cup of semi-sweet chocolate chunks. I was VERY happy with my decision.


Lookie! Tall, gorgeous, perfect cookies! It makes my mouth water just looking at them! Now all's I need is a tall man, a glass of cold milk, and my favorite movie.

Happy Baking!!

Recipe:

  • 2 cups bread flour
  • 1/2 teaspoon baking soda
  • 1/2 teaspoon salt
  • 3/4 cup unsalted butter, melted
  • 1 cup packed brown sugar
  • 1/2 cup white sugar
  • 1 tablespoon vanilla extract
  • 1 egg
  • 1 egg yolk
  • 2 cups semisweet chocolate chips/chunks

Preheat the oven to 325 degrees F. Grease cookie sheets, or line them with parchment paper or use a Silpat.

Sift the flour, salt and baking soda and set aside.

Mix the sugars and butter just until thoroughly mixed, then add egg, yolk and vanilla and mix until creamy. Add the sifted ingredients and mix until just blended.

Stir in the chocolate chips/chunks, then drop dough one scoop at a time on a cookie sheet (I used a small ice cream scoop, but you can really use any size, you'll just have to adjust the baking time), about 3 inches apart, and bake for 15-17 minutes, or until the edges turn a nice golden brown. Leave them on the cookie sheet to cool a bit when removed from the oven. Once they cool a few minutes, remove the cookies to a cooling rack to finish cooling.

Tuesday, July 20, 2010

Tastes Like Freedom


I knew I had to try this the minute I saw the post of it on 17 and baking. Elissa made it sound so easy. I was more than excited to create this beautiful piece of food-art, but it did give me a small bit of anxiety.

The night before the 4th, I had a dream where I was trying to use my new cake leveler to cut the cakes in half and everything was falling apart. I was sure that this was a very real possibility of happening in real life.

Luckily, it was only a dream and the real thing turned out better than I could have hoped for. It looks difficult, but the steps are surprisingly easy.


The first thing is just to bake 3 round cakes. One blue, one white, and one red. I just used box cakes and food coloring. it's quick and easy. I would suggest using 8 inch pans. I used 9 inch pans and the cakes were shorter than I wanted.

Once the cakes have chilled in the fridge (I put them in overnight), level off the top of all three cakes. This is important for not only how the cakes fit together, but also for when spreading your frosting. Then using a serrated knife or a cake leveler (only about 3 or 4 bucks at Michael's), cut the white and red cakes in half so you have 5 round cakes.

Then take a bowl or other round object, I used a large mug, to cut a circle in a stack of one red level, one white level, and the blue cake. Then all you have to do is assemble! It's easy as pie...or cake. From bottom to top: whole white, frost, whole red, frost, outer circle of blue, frost (inside of blue), then the inner circles of white and red go inside the blue ring. Frost a crumb layer, chill, and top it off with a nice layer of frosting. It's that easy!


To see Elissa, from 17 and baking, assemble this cake, watch this video. It helps tremendously to see it first hand before you do it on your own!

The cream cheese frosting for this cake could not be any easier. This was my first time making homemade frosting and it turned out spectacular! I just used the recipe on 17 and baking, and it is magical!

16 oz cream cheese
10 Tbsp unsalted butter, softened
4 tsp vanilla extract
4 cups powdered sugar, sifted.

Beat the cream cheese, butter, and extract together until combined. Gradually beat in the powdered sugar until the desired consistency is reached.

My tip for this frosting (that I learned from my mother): You do not have to actually sift the powdered sugar. Just measure out your powdered sugar into a separate bowl, and whisk. Same result without having to go out and buy a sifter.